ImageMaster Image Quality MTF Testing

The devices ImageMaster HR and Universal provide an outstanding level of accuracy and flexibility when testing the MTF (modulation transfer function).
The equipment is modular and upgradeable to allow for custom configuration as test requirements change. The instrument can be configured for testing optical systems with the object at infinity or object and image at finite conjugates. The accuracy of the measurement is traceable to international standards.
The ImageMaster® HR offers versatile functionality for testing the image quality of small and medium-sized lenses, e.g. for smartphone, photo and film cameras. With the ImageMaster® HR TempControl test samples, which have to provide their optical functionality and performance at extreme temperatures, can be measured in a wide temperature range.
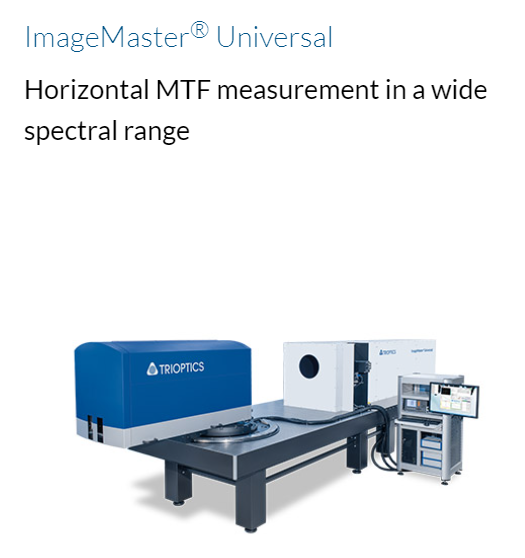
For medium and larger lenses, e.g. in camera lens manufacturing and the development of aerial lenses or lenses for space exploration, the horizontally mounted ImageMaster® Universal offers the highest accuracy and maximum stability.

Product Overview ImageMaster® HR

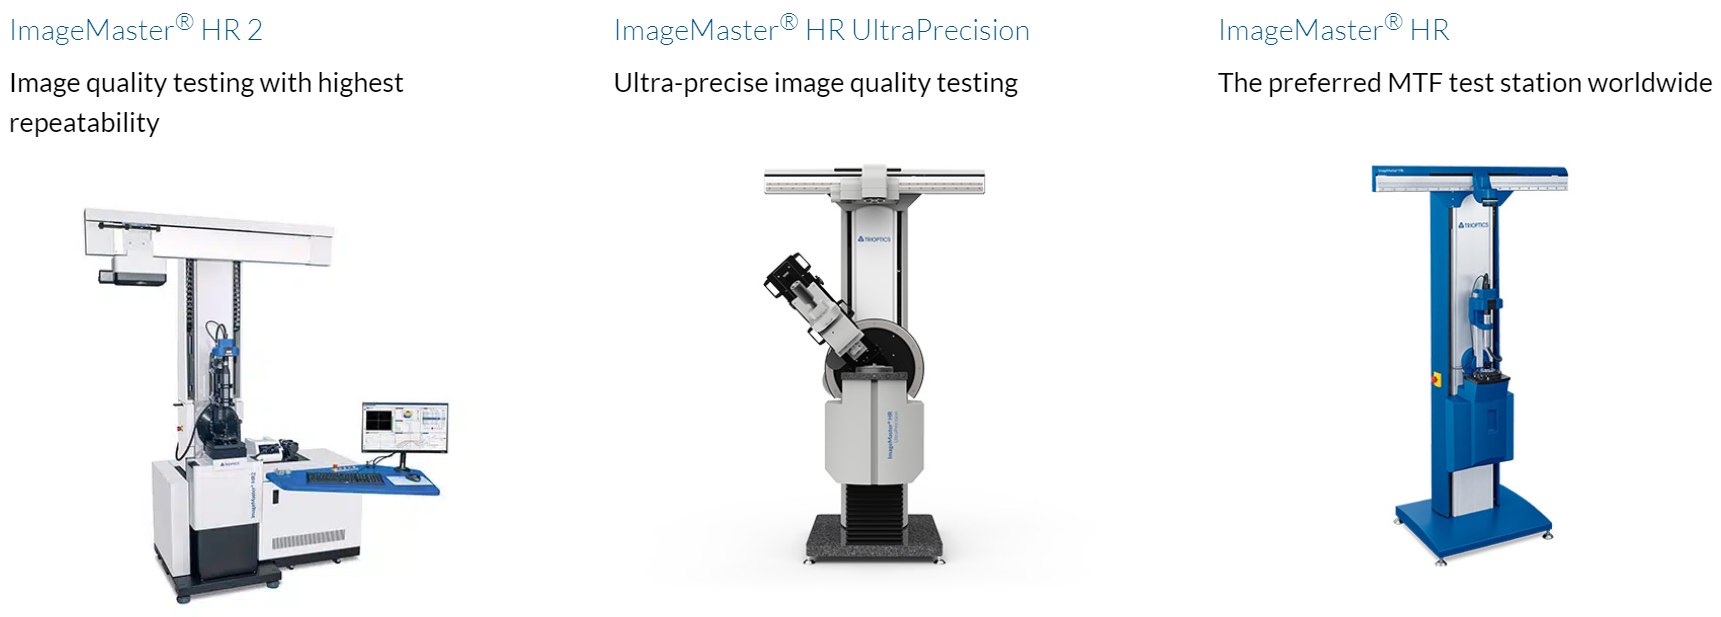
The ImageMaster® HR 2 is our completely redesigned new version of the long-time successful ImageMaster® HR – the worldwide standard for image quality testing of small and medium-sized lenses e. g. for smartphone-, photo- and film cameras.
- High repeatability for all measurement parameters
- New Software and ease of use
- Extended range of measurable samples
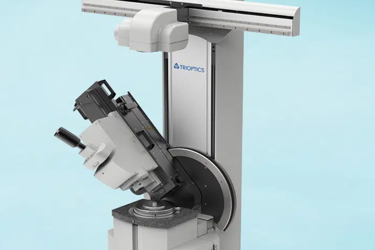
For ultra-precise measurement of MTF and other optical parameters TRIOPTICS has developed the top model among the MTF test stations of our HR product series – the ImageMaster® HR UP.
- High-precision air bearing sample holder
- Increased mechanical stability
- Enhanced measurement reproducibility
The ImageMaster® HR fulfils the high customer requirements for accuracy and flexibility in the measurement of image quality.
- Fully or semi-automated, ultra-accurate, multi-functional MTF test station
- Accuracy traceable to international standards
- MTF measurement at finite and infinite conjugates

ImageMaster® HR MAX has been developed for high-precision MTF testing in the VIS and IR range.
- Available for NUV/VIS/NIR spectrum
- Includes a high-quality mirror collimator, halogen light source and high resolution camera sensor
- Accuracy traceable to international standards
The ImageMaster® HR MAX IR is designed for the measurement of MTF and other optical parameters of today’s high-end IR optics in R&D and production.
- Available for NUV/VIS/NIR/MWIR/LWIR spectrum (SWIR on request)
- Includes a high-quality mirror collimator, broadband IR light source and IR focal plane array image sensor
- Accuracy traceable to international standards
Many optical systems such as lenses and camera modules are used in a wide temperature range and must consistently maintain their full functionality and performance across varying temperatures. Athermal designs should minimize the thermal influences on opto-mechanical parameters.
- Functionality testing of athermal optical designs
- Temperature range: Standard: -10°C to 120°C, Upgrade: -40°C to 120°C
- Determination of the optical performance for a set of parameters
Product Overview ImageMaster® Universal

Innovative design, high quality and long-life components are combined in the ImageMaster® Universal with user-friendly software. Its horizontal construction facilitates testing of large lenses.
- Accurate measurement of virtually any existing lens system: infinite, finite, afocal
- For high performance photographic imaging lenses up to high resolution telescopes
- Spectral range of the MTF measurement from UV to visible spectrum to IR (NIR/SWIR/MWIR/LWIR)
Applications
ImageMaster® HR
The ImageMaster® HR MTF test station measures visual and infrared lenses. The following parameters can be measured:
- MTF on-axis and off-axis
- Effective Focal Length (EFL)
- Distortion
All MTF measurements can be performed with the ImageMaster® HR in finite and infinite measurement position.
ImageMaster® HR TempControl
In addition to determination of the MTF, the key measurement parameter is the change in both the flange focal length and effective focal length when the temperature changes.
In addition to military and aerospace applications, cameras are also being used in the automotive industry as safety-critical systems whose properties must be tested and ensured across a broad temperature span.
In general, the image quality of lenses can be affected by temperature influences on the optical components and mounting materials. Crucial lens parameters such as effective focal length and flange focal length can be temperature-dependent and have an impact on the camera’s focusing function.
Due to the easy system conversion from VIS to NIR, the specific requirements from various areas, including the automotive industry, development of mobile phone lenses, and the military and aerospace sectors are covered.
Measurement parameters:
- Effective Focal Length (EFL)
- Flange Focal Length (FFL)
- MTF vs Frequency
ImageMaster® Universal
With the MTF test station ImageMaster® Universal lenses can be measured in all spectral ranges from UV to LWIR.
The following parameters can be measured:
- MTF on-axis and off-axis
- Effective Focal Length (EFL)
- Distortion
All MTF measurements can be performed with the ImageMaster® Universal in finite, infinite and afocal measurement position.
Software

ImageMaster® MTF Lab Software
User-friendly software for research and development as well as laboratory work.The versatile functionality and high performance make the user-friendly ImageMaster® MTF-Lab software package the preferred choice for R&D and laboratory work. High-performance functions help the user to optimize the measurement processes.
The software offers high flexibility for measurements in the NUV-, VIS- and NIR spectrum. Automatic measurement sequences ensure easy operation and the data can be output in CSV/MHT.
Several useful functions are integrated which help the user to scan and perceive the correct image position of the sample under test. Changing the measurement mode is easy and time-saving. All important measurements for the imaging properties are quickly accessible.
One main feature key feature when using the software with the ImageMaster® Universal is the support of UV or IR detectors employing the scanning aperture method.
Features
- Easy to handle graphical user interface makes the most important functions only one mouse-click away
- Customizable arrangement of graph windows
- Measurements of MTF, EFL and a range of other parameters using special target patterns and dedicated software routines
- Functions for easy alignment of the sample under test
- Conventional MTF measurement using a single slit or a crosshair as a target
- Optionally automated selection and positioning of the suitable reticle (target) and filter for the current application
- Configuration files with optimized process parameters and password protected access for operator and supervisor
- Script tools for custom programming and analysis
- Intuitive user interface and time-saving lens test routines
- Logging of successive measurements
- Data export to a variety of file formats
- The certificate in HTML format can be imported into MS Excel
MTF Lab for ImageMaster® HR TempControl
For measurements in the temperature range from -40°C to 120°C, the proven MTF Lab software has been extended.
Powerful functions assist the user in performing the necessary measurement processes to determine a variety of parameters to determine the optical performance in the extended temperature range.
- Measurements of MTF, EFL and a range of other parameters using special target patterns and dedicated software routines
- Functions for easy alignment of the sample under test
- Conventional MTF measurement using a single slit or a crosshair as a target
- Optionally automated selection and positioning of the suitable reticle (target) and filter for the current application
- Configuration files with optimized process parameters and password protected access for operator and supervisor
- Script tools for custom programming and analysis
- Intuitive user interface and time-saving lens test routines
- The certificate in HTML format can be imported into MS Excel
